
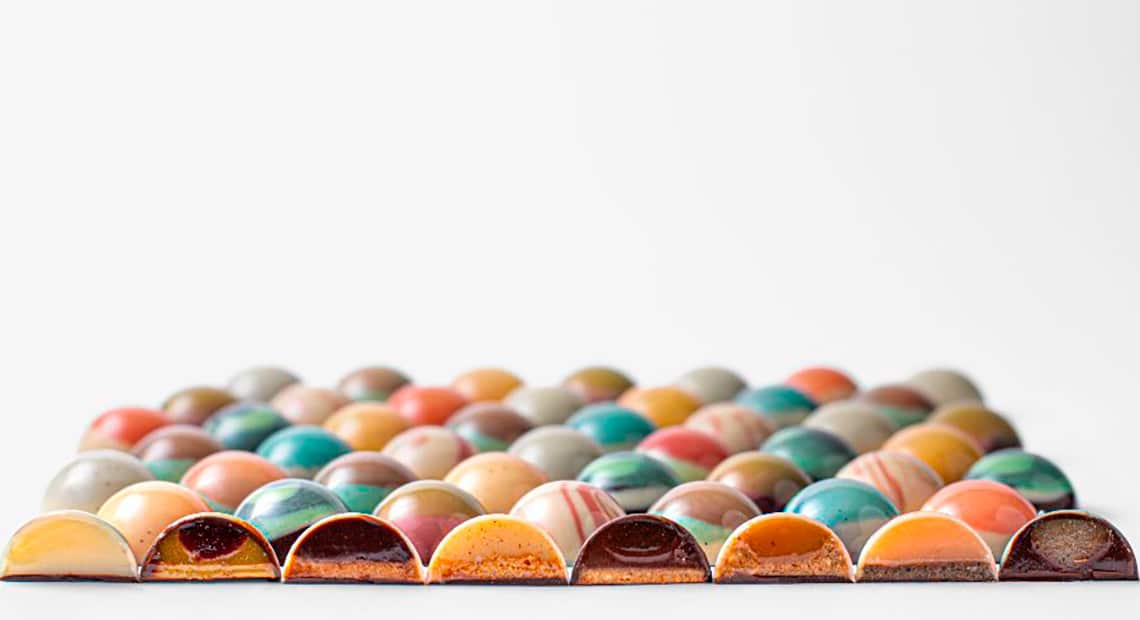
Under normal circumstances, it would take three days to make molded bonbons.
This is the 3-day work split I’d normally follow when I’m making molded bonbons, and I’m not in a rush:
- Day one, you spray.
- Day two, you shell and fill.
- Day three, you close, unmold, and pack.
However, I know sometimes we simply don’t have the time to wait three or four days to have our molded bonbons ready.
That’s when we need to get creative and technical.
And that’s exactly what you can achieve with my three favorite shortcuts for when I need to close my molded bonbons in two days, instead of three.
Note: I still recommend spraying on day one and waiting 24 hours before shelling for optimal shine.
1. Pre-crystallize (or temper) the ganache
Early that day:
- Make your molded bonbons’ ganache.
- Wait for it to come down to 34°C.
- Temper using your favorite method, or add between 0.4% and 1% cocoa butter silk or creamy cacao butter (click here for my cocoa butter silk free class).
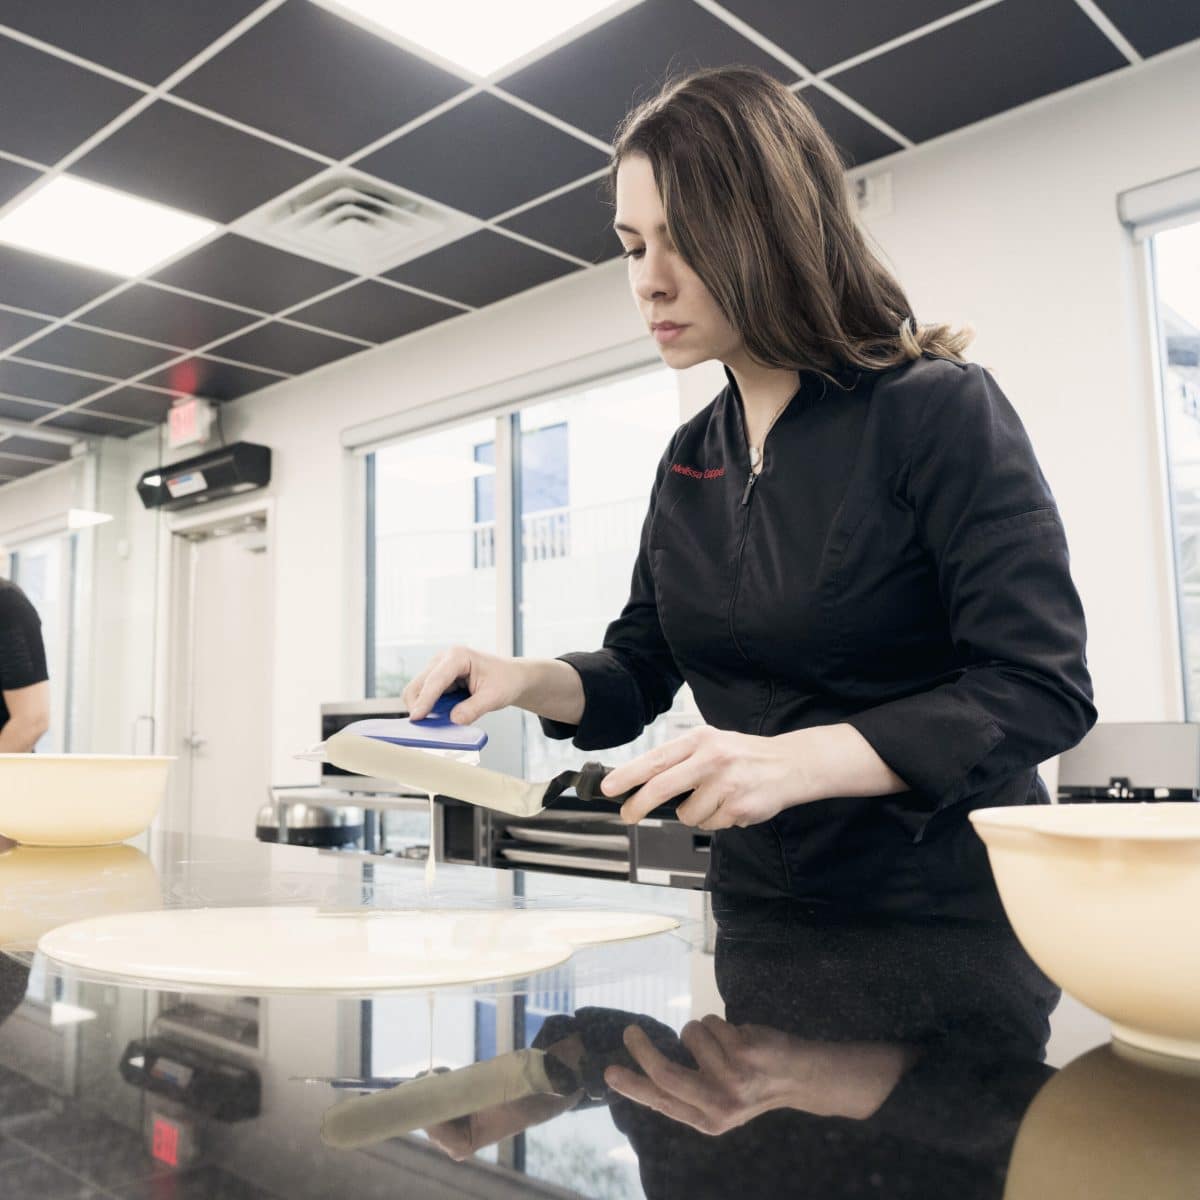
- Let cool down to the right temperature depending on the chocolate you use (27°C for white, 29°C for milk, 30°C for milk + dark, and 32°C for dark chocolate).
- Pipe inside the shells and cover with plastic wrap.
- Place the molds in the fridge for 30 min to kickstart the crystallization.
- Then, let your molded bonbons crystallize in the cold room at 14°C for 6-8 hours if it’s a white chocolate ganache; 4-6 hours if it’s a milk chocolate ganache; and 4 hours if it’s a dark chocolate ganache.
- Let the molds come to 20°C and close them with more pre-crystallized chocolate.
- Let the molded bonbon shells crystallize for 30 min in the cold room at 14°C.
- Place them in the freezer for 10 min to shock them.
- Unmold the bonbons and pack them.
- This will speed up the crystallization of the ganache, especially if you never temper yours (like me). I usually have to let the untempered ganache crystallize for 12 hours, so this trick definitely cuts down the waiting time.
2. Fill your molded bonbons with fat-based fillings only
Fat-based fillings include giandujas, crunches, or pralinés.
They’re great because they have a long shelf life and they take no time to crystallize.
So, if you fill your molded bonbons only with a gianduja, crunch, or praliné, they will be ready in a couple of hours:
- Make your fat-based filling.
- Pre-crystallize it.
- Pipe it inside the molded bonbons’ shells.
- Let it crystallize at 14°C for 30 min.
- Let the molds come to 20°C and close them with more pre-crystallized chocolate.
- Place the molded bonbons in the freezer for 10 minutes to shock them and unmold them easily.
- Unmold them and pack them.
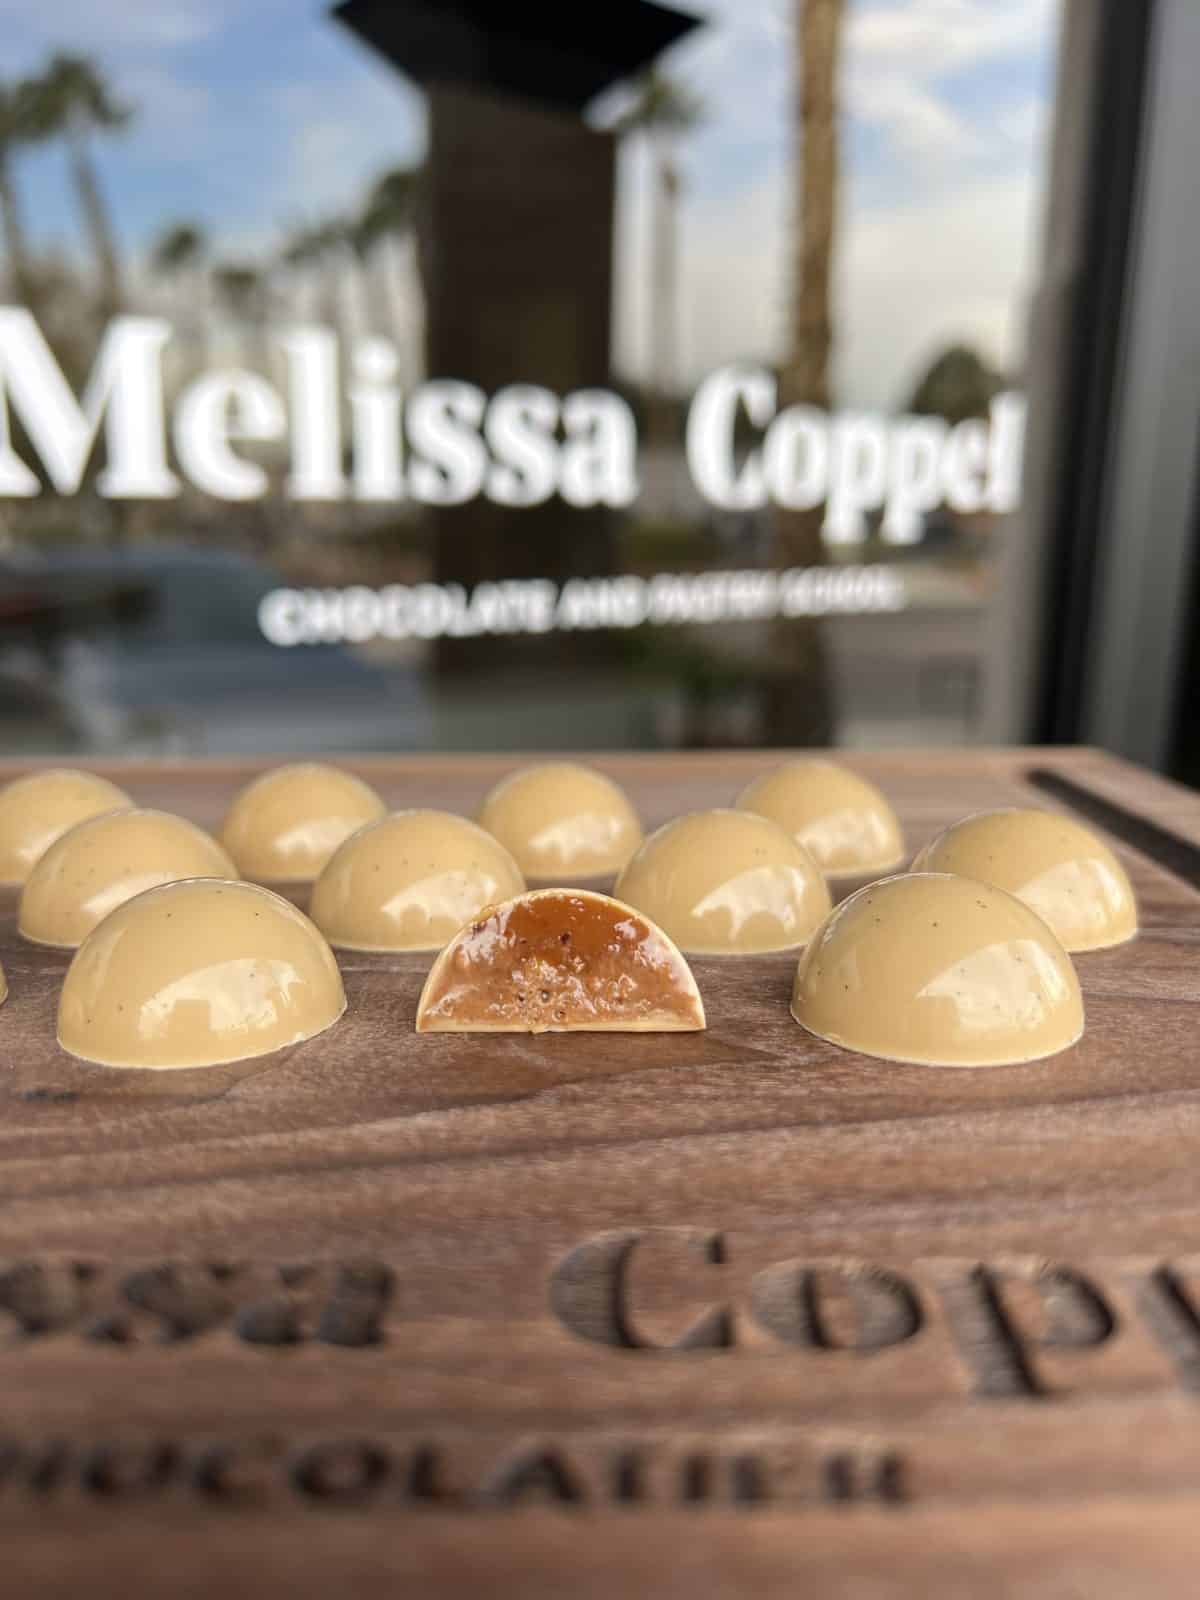
3. Fill your molded bonbons with two layers
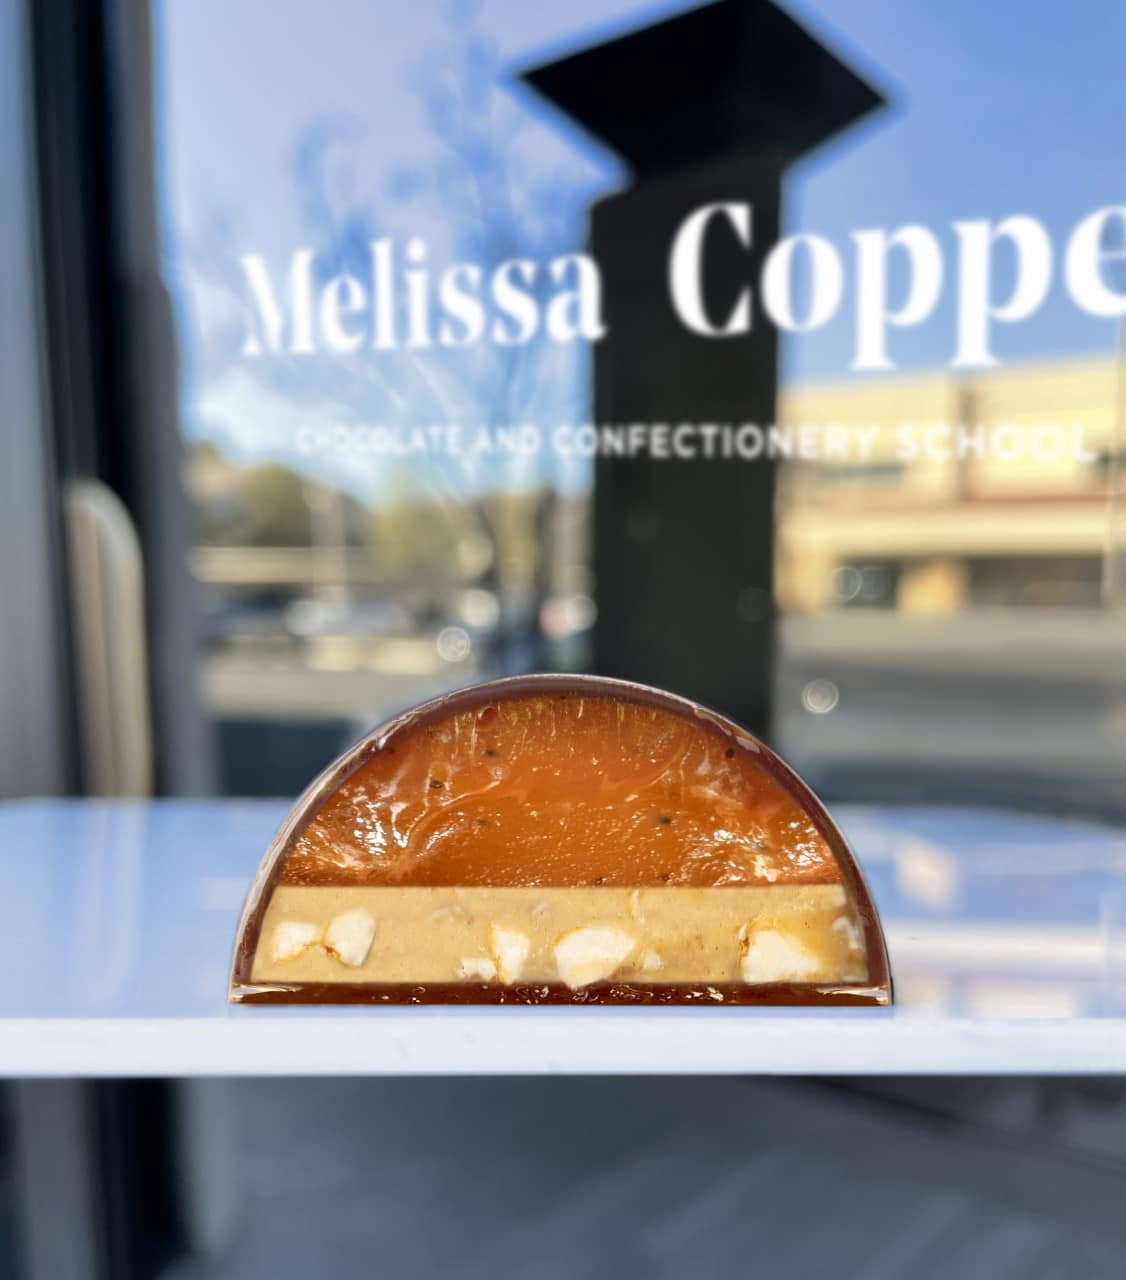
The third and final option is to fill your molded bonbons with a layer of ganache first, and then pipe a layer of fat-based filling on top for faster crystallization:
- Pipe the ganache inside the molded bonbons’ shells.
- If it’s a white or milk chocolate ganache, let it crystallize for 2 hours at 14°C before piping the fat-based filling on top.
- If it’s a dark chocolate ganache, you can pipe your fat-based filling on top right away.
- Let the fat-based filling crystallize for 30 min at 14°C.
- Let the molds come to 20°C and close them with more pre-crystallized chocolate.
- Place the molded bonbons in the freezer for 10 minutes to shock them and unmold them easily.
- Unmold them and pack them.
What other molded bonbon efficiency tips do you have? Give these a try and let me know how they go!
With love,
-Melissa