
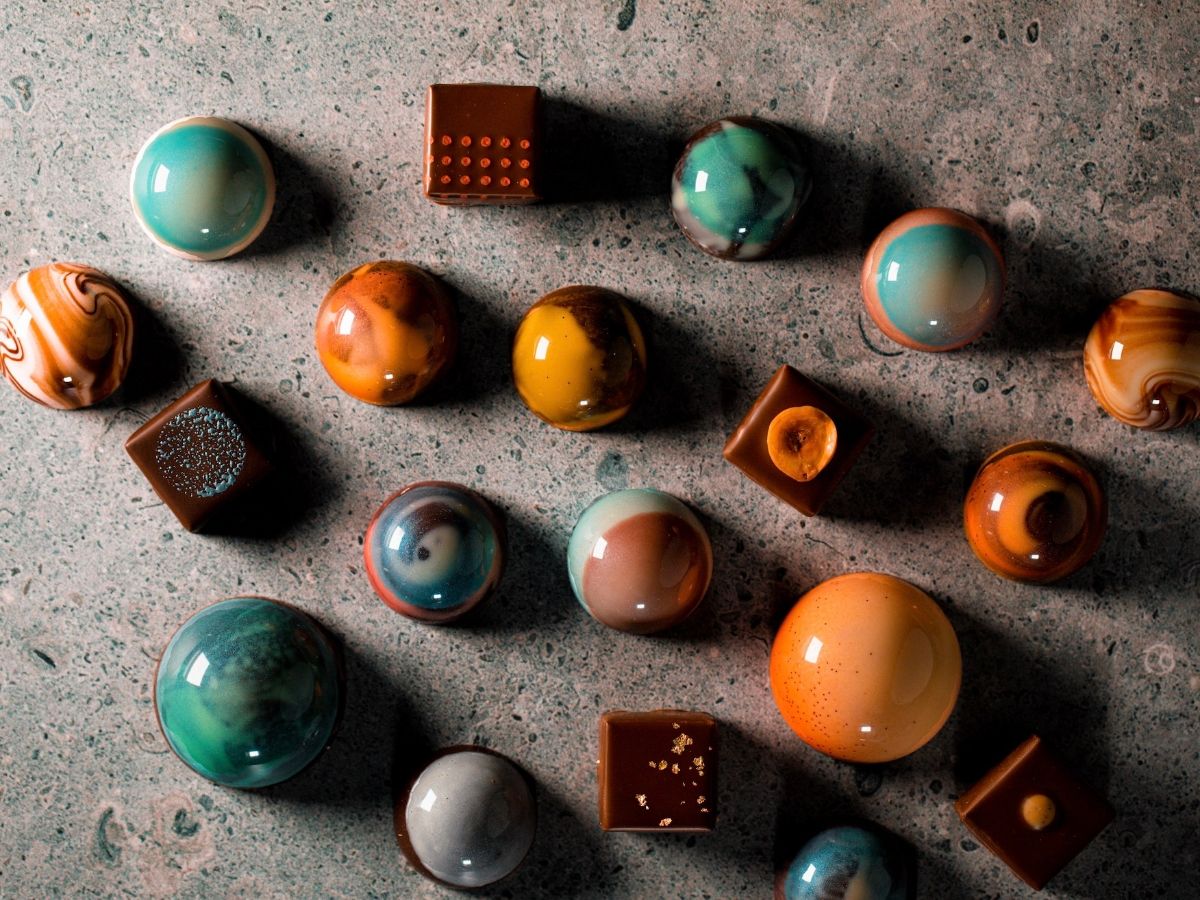
Formulating delicious bonbons is the fun part, but organizing the workflow? That’s where the stress usually hides.
If you’ve ever felt overwhelmed by the timing of shells, fillings, and capping, today I’m sharing my personal 3-day production split for molded bonbons.
Day 1
- Clean, polish, and paint the molds.
- Take them to the cold room (or wine cooler) at 14°C overnight for optimal shell shine.
- In the meantime, you can prepare all the bonbon fillings that are not ganache, such as your pralinés, compotes, marzipans, and caramels.
Day 2
- The next morning, take your painted molds out of the cold room, allow them to come to 20°C, and make the shells with pre-crystallized chocolate.
- Let the shells crystallize in the cold room.
- In the meantime, start making the ganache.
- Once the ganache is ready, pipe it inside the shells.
- If the second layer of your bonbon is a fat-based filling, you can close the bonbons that same day. But if your bonbons are only filled with untempered ganache, you will need to let them crystallize overnight before closing the shells. If you pre-crystallize your ganache, 8 hours of crystallization are usually enough.
Day 3
- Take the molds with the crystallized ganache out of the cold room, and let them come up to 20°C.
- Close them with pre-crystallized chocolate, and let them crystallize in the cold room for 30 min.
- Then, shock them for 10 min in the freezer, unmold them, and pack them. Remember that from the moment you make your ganache, the shelf life clock of your bonbons starts ticking, so we don’t want to leave the bonbons in a cold room for days.
How many days does it take you to make your bonbons? Let me know.
-Melissa